


In this article, we are going to go over the steps involved in using docker in your React application. For the purpose of this discussion, I have decided to add docker to a simple React project.
Cloning the React application
Below, I have pasted a link to the project, so you can go ahead and clone it by running the command below in your terminal;
git clone https://github.com/OyinloluB/React-Docker.git
After cloning the application and running it locally, you should be seeing the screen below:

Alternatively, you can code along on your personal project — either works just fine.
Downloading Docker
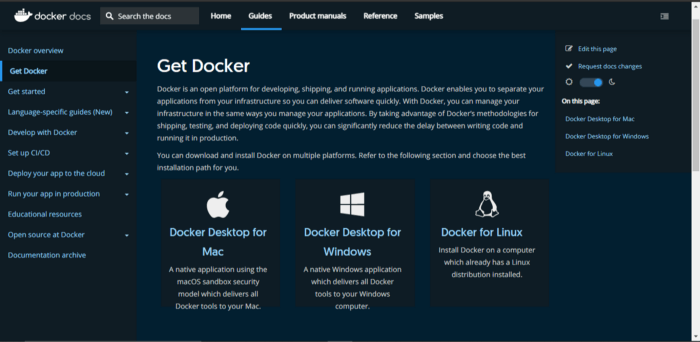
To be able to work with docker, you will need to have docker installed on your computer. Not to worry, it is a pretty straightforward process. All you have to do is go over to the Docker website and download docker for your OS specifically.
To confirm if you have successfully installed docker onto your system, you can run this command in your terminal:
docker -v
Undertstanding the terms
When working with docker, there are a number of terms that you would come across often. It is important that you understand what they mean, and to this effect, I will be defining these terms below:
- Docker:
Docker, in simple words and as defined by Fireship on YouTube, is a way to package software, so it is able to run on any hardware.
Docker deploys (packages) your web application into containers. These containers take your code, dependencies, and everything that it needs, then allows it to run on any environment.
Images: A docker image contains everything you need to run your application. It is a template that holds a set of instructions needed to create a working container.
Container: This is a running process/instance of an image. A docker container ‘contains’ everything your application needs to run and can run your application in any environment — as discussed above.
- Dockerfile: A dockerfile is a blueprint/set of instructions that define how your image is built. It is a series of steps that you have defined, and that must happen before your image is successfully built.
- Docker hub: Think of Github. Docker hub is a registry that allows you to host your images and gives you access to a wide number of other docker images that you can pull and work with.
- Dockerignore: The .dockerignore file acts like the .gitignore file. It contains any file in your local application that you do not want in your docker image.
Now that we have learnt these terms, we can begin to apply them in dockerizing our simple application.
Getting Started
The first thing we are going to do in our React application is create a file in our root directory called Dockerfile. We defined it as a series of steps, a set of instructions, a blueprint — that defines how your image is built. We also said that an image holds every instruction you need to create a working container and that a container is a running instance of an image that allows your application to run on any environment. Now that we are all caught up, let us write some step-by-step instructions in our dockerfile, telling it how we want our image to be built.
FROM node:latest
The keyword here is FROM, our first step/instruction here says that we want to work with the latest node image.
WORKDIR /app
WORKDIR here says that we want to add the source code of our application to the image. This line of instruction creates a directory called app in our image and adds our source code to that directory.
COPY package.json ./
In our application, we have installed some dependencies. COPY here copies the content of our packge.json file.
RUN npm install
RUN npm install goes ahead to install all the dependencies we might have installed locally, in our image.
COPY . .
What this does is it copies all the files in your local directory to the /app directory created in our image.
CMD ["npm", "start"]
This final command starts up the application after every single step has been navigated successfully. Your dockerfile should now look like this:
FROM node:latest

WORKDIR /app

COPY package.json ./

RUN npm install

COPY . .

CMD ["npm", "start"]
Using .dockerignore
Before running our application to see if our setup works, there is one thing we have to do. Now the .dockerignore file is home to everything that you do not want in your docker image. In our application, the one thing we do not need in our image is the node_modules folder. Why? Well in our dockerfile, we are running npm install in order to get access to all the dependencies in our application. This in itself will create a node_modules folder.
When we copy all the files from local to image, we copy the node_modules folder too. To curb this, in your root directory, create a .dockerignore file. It is rather simple what we are to do here, we are including the files that have no business being in our docker image:
node_modules
Dockerfile
.git
Building our image
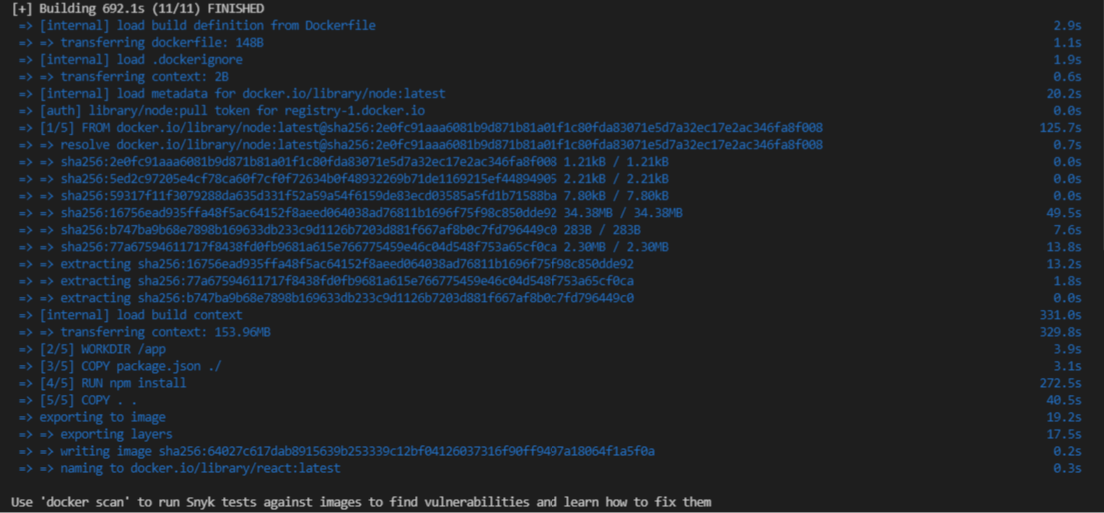
Now to get our container up and running, we have to first run the build command. This command goes over every step we have defined in our dockerfile as you will see when you run it:
docker build -t nameofyourapp:latest .
When this runs, in your terminal you will see as it goes over every step that we defined in our dockerfile.
Running our container
To run our docker container, in your terminal write the command:
docker run --name nameofyourchoice -d -p 3000:3000 nameofyourapp:latest
- -d: This runs your container in detached mode. Simply put, when you leave a terminal session, it keeps your container running still.
- -p: This is used to publish the port you would like your application to run on. If you run your container without publishing a port, whatever is running in your container will only be accessible in your container.
After your container runs successfully, you will see an id like this:
6d1670d1e2ff97997fa1a071aff4e558cfd4ff33a4d7efb5001565832887af24
Your id will be different as it is specific to your application.
To further confirm that our application is running as expected, you can run this command to see the images that are currently running:
docker images
It will show you something like this:
REPOSITORY      TAG       IMAGE ID       CREATED          SIZE
react          latest    64027c617dab   15 minutes ago   1.37GB
For further confirmation, let us run our published port in our browser and see if anything comes up. So in your browser — if you still have your React app running from earlier on localhost:3000, go to your terminal and stop the process, then open up localhost:3000 again without running npm start. What you should see is a simple page that says “Hello World”, as seen below.

Conclusion
In this article, we learnt how to dockerize our React applications. When it comes to using Docker in any application, there is a lot more that goes into it. In order to learn about the more advanced concepts or to dive deeper into the concepts covered here, you can read further or check out Youtube videos that go into extensive detail.